A Comprehensive Guide to the Screen and Recoat Process
Bring back hardwood floors shine...
Restoring the Elegance of Hardwood Floors: A Comprehensive Guide to the Screen and Recoat Process
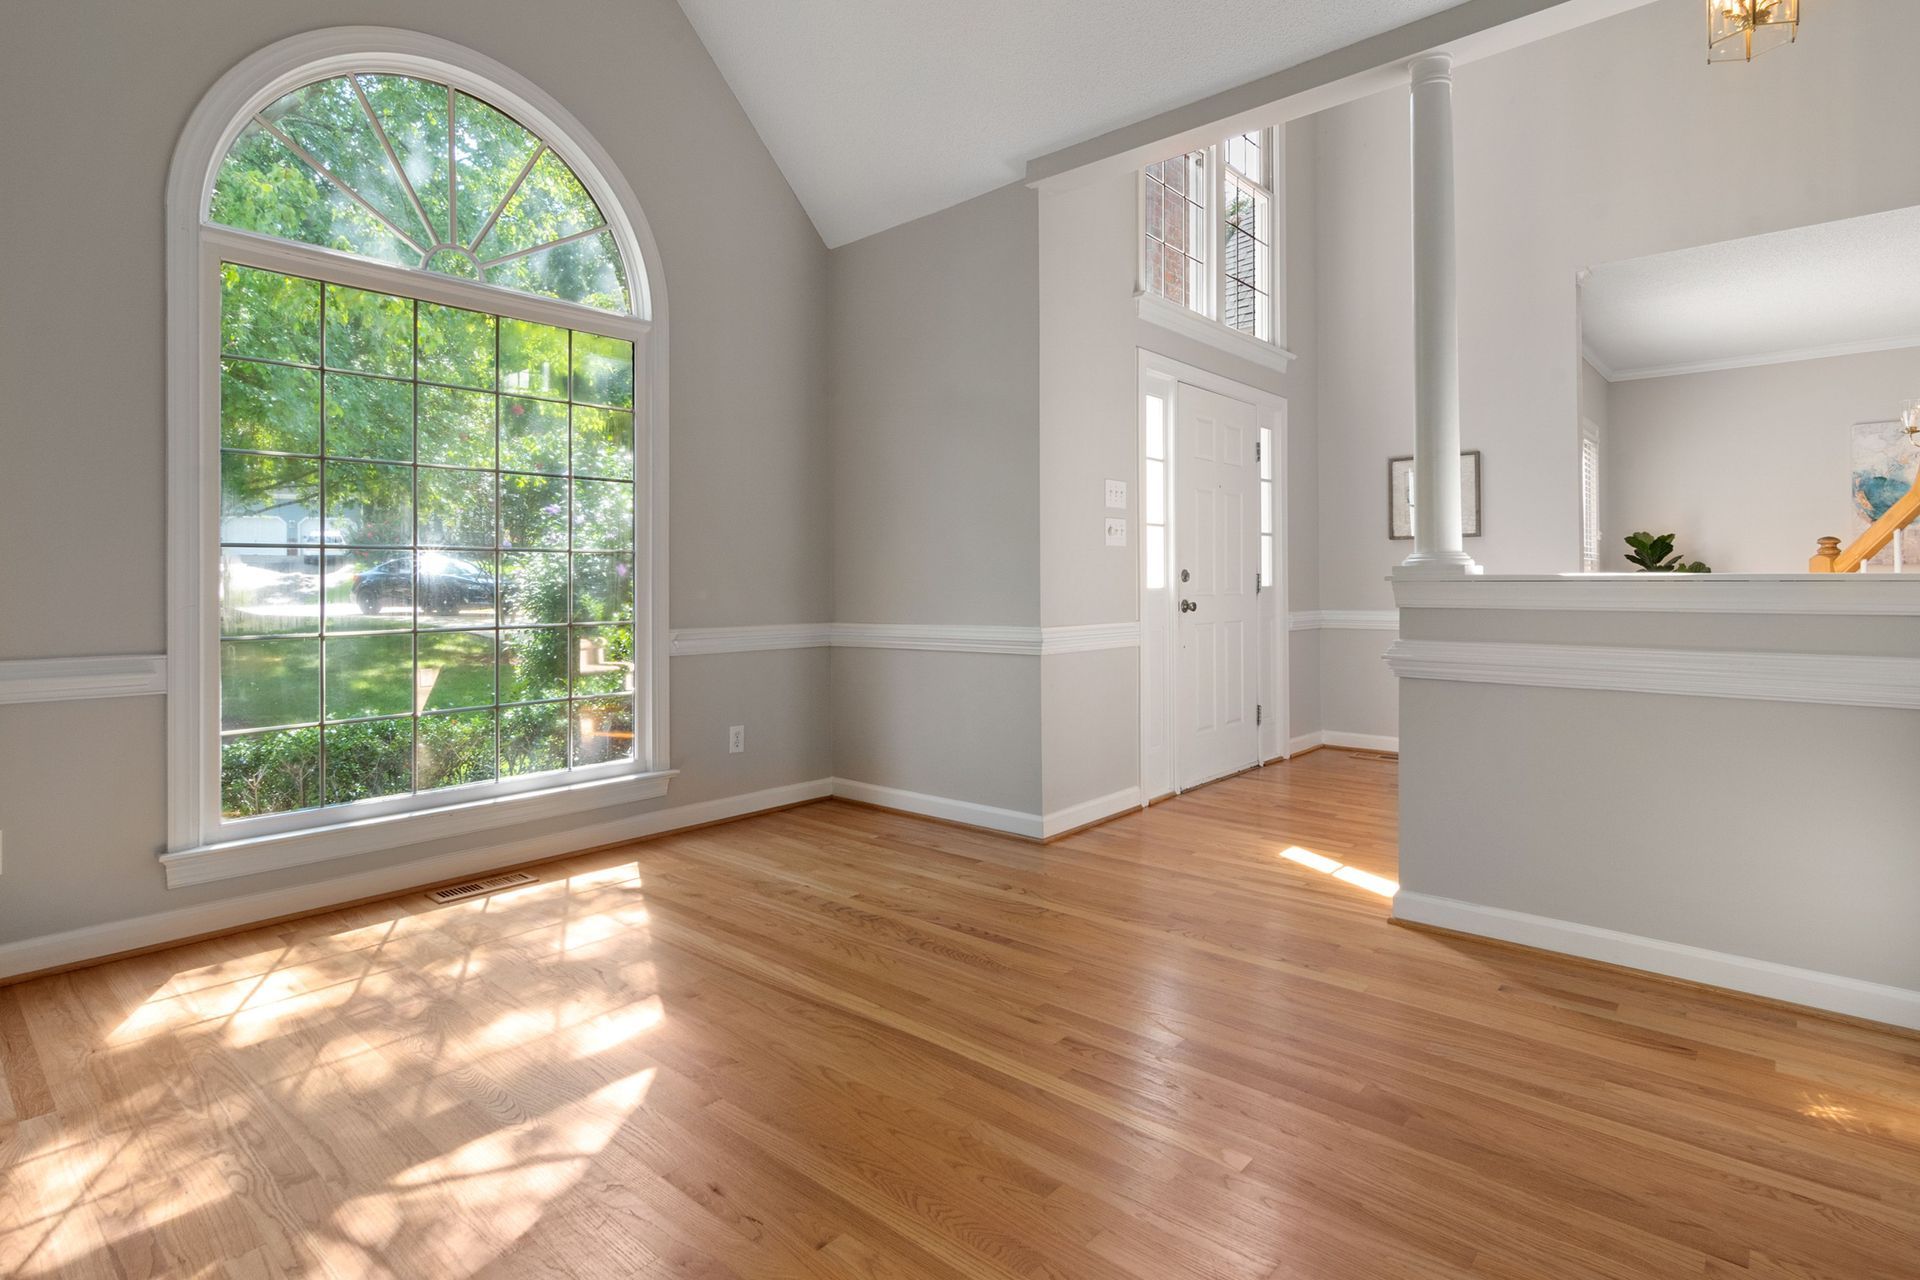
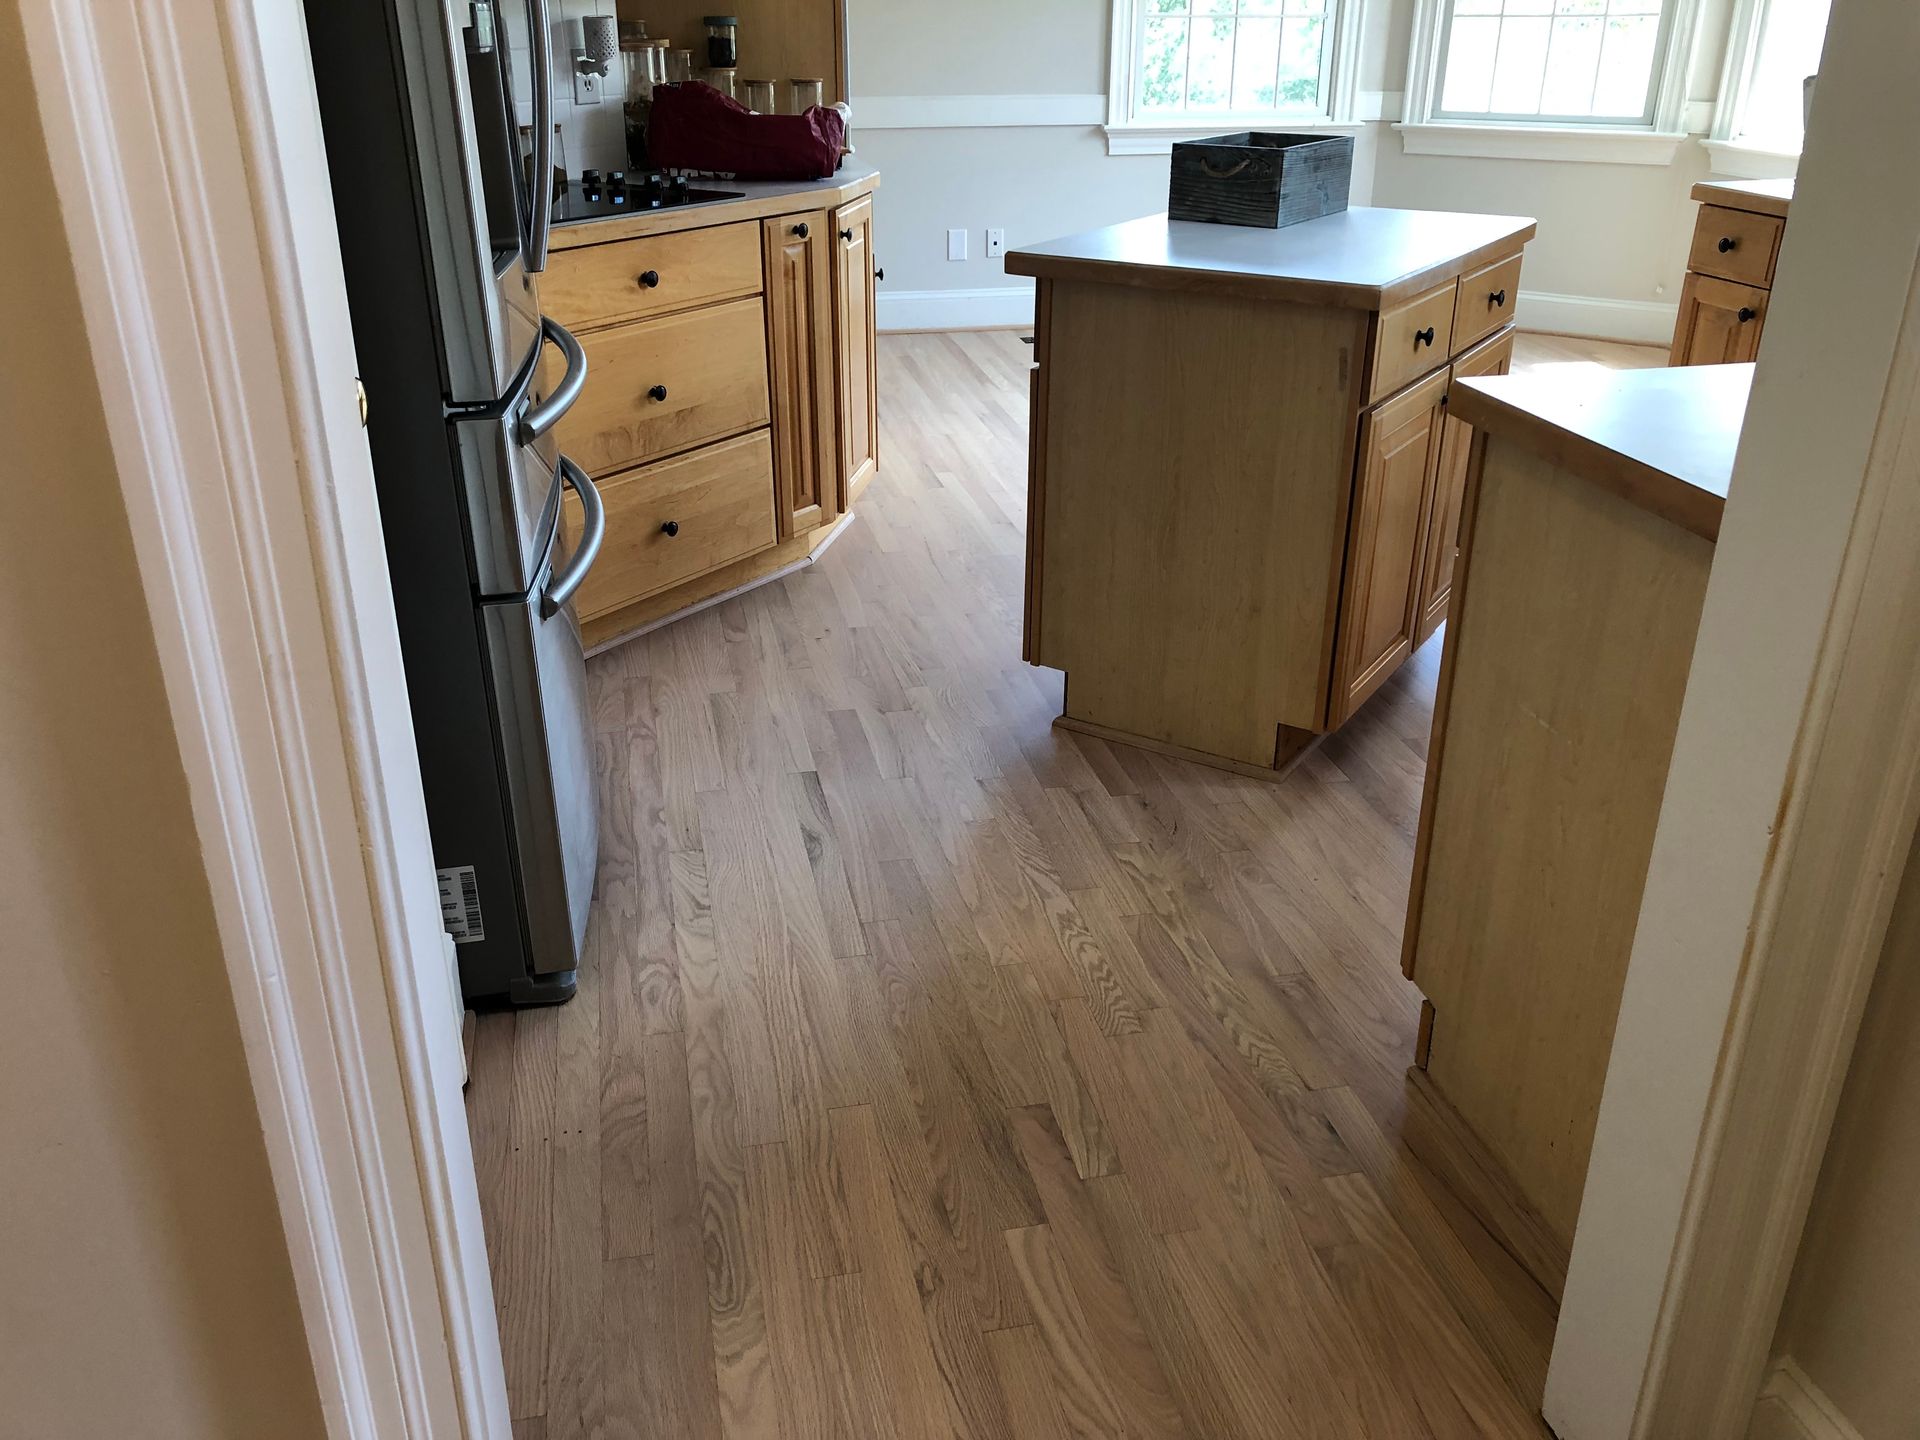
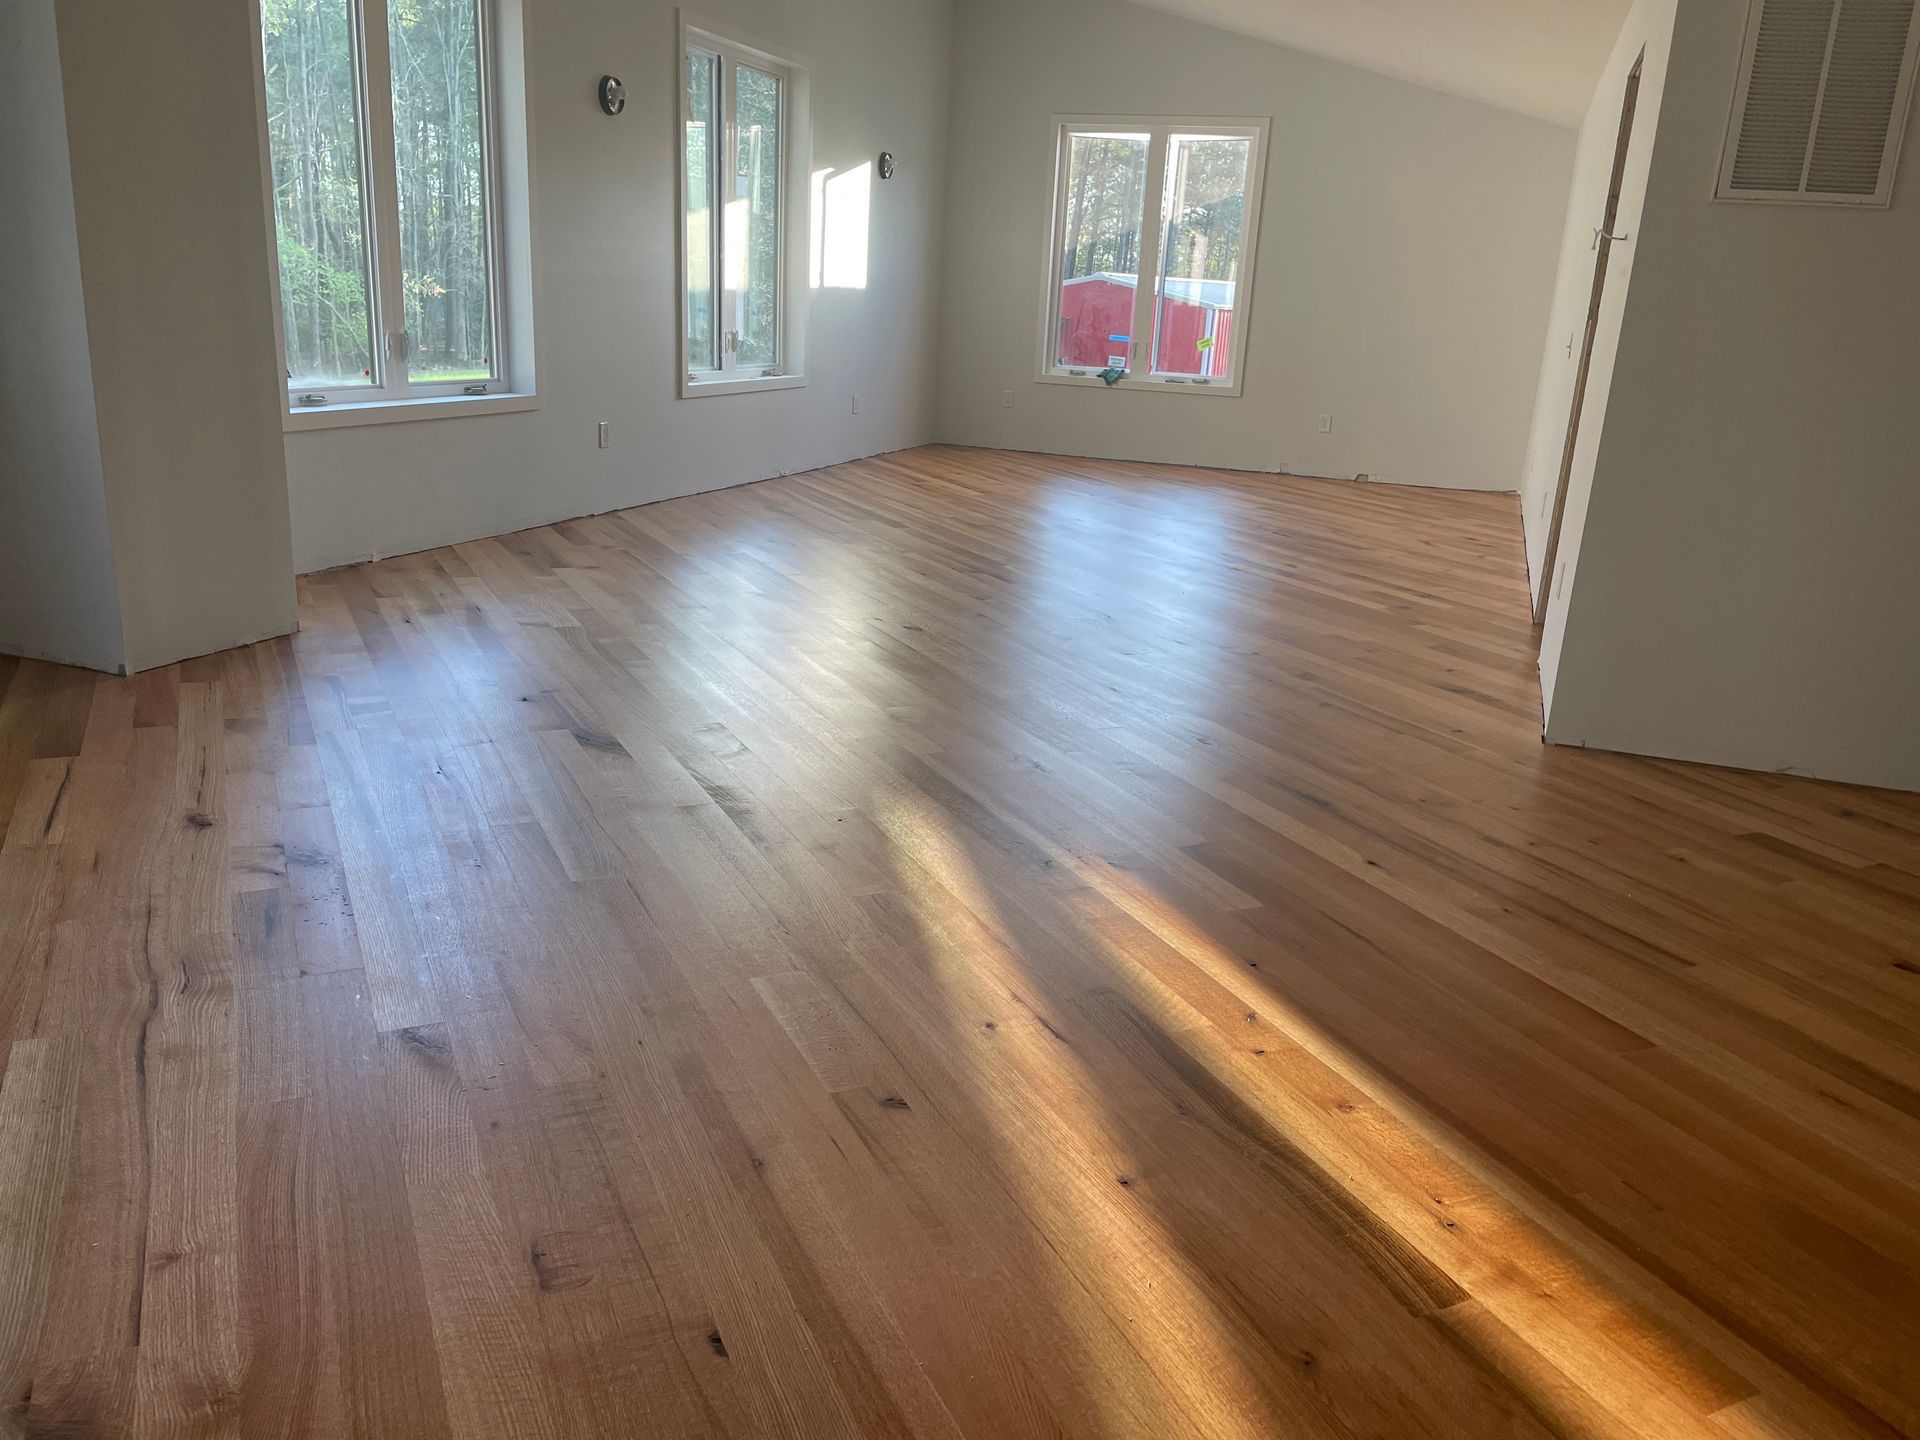
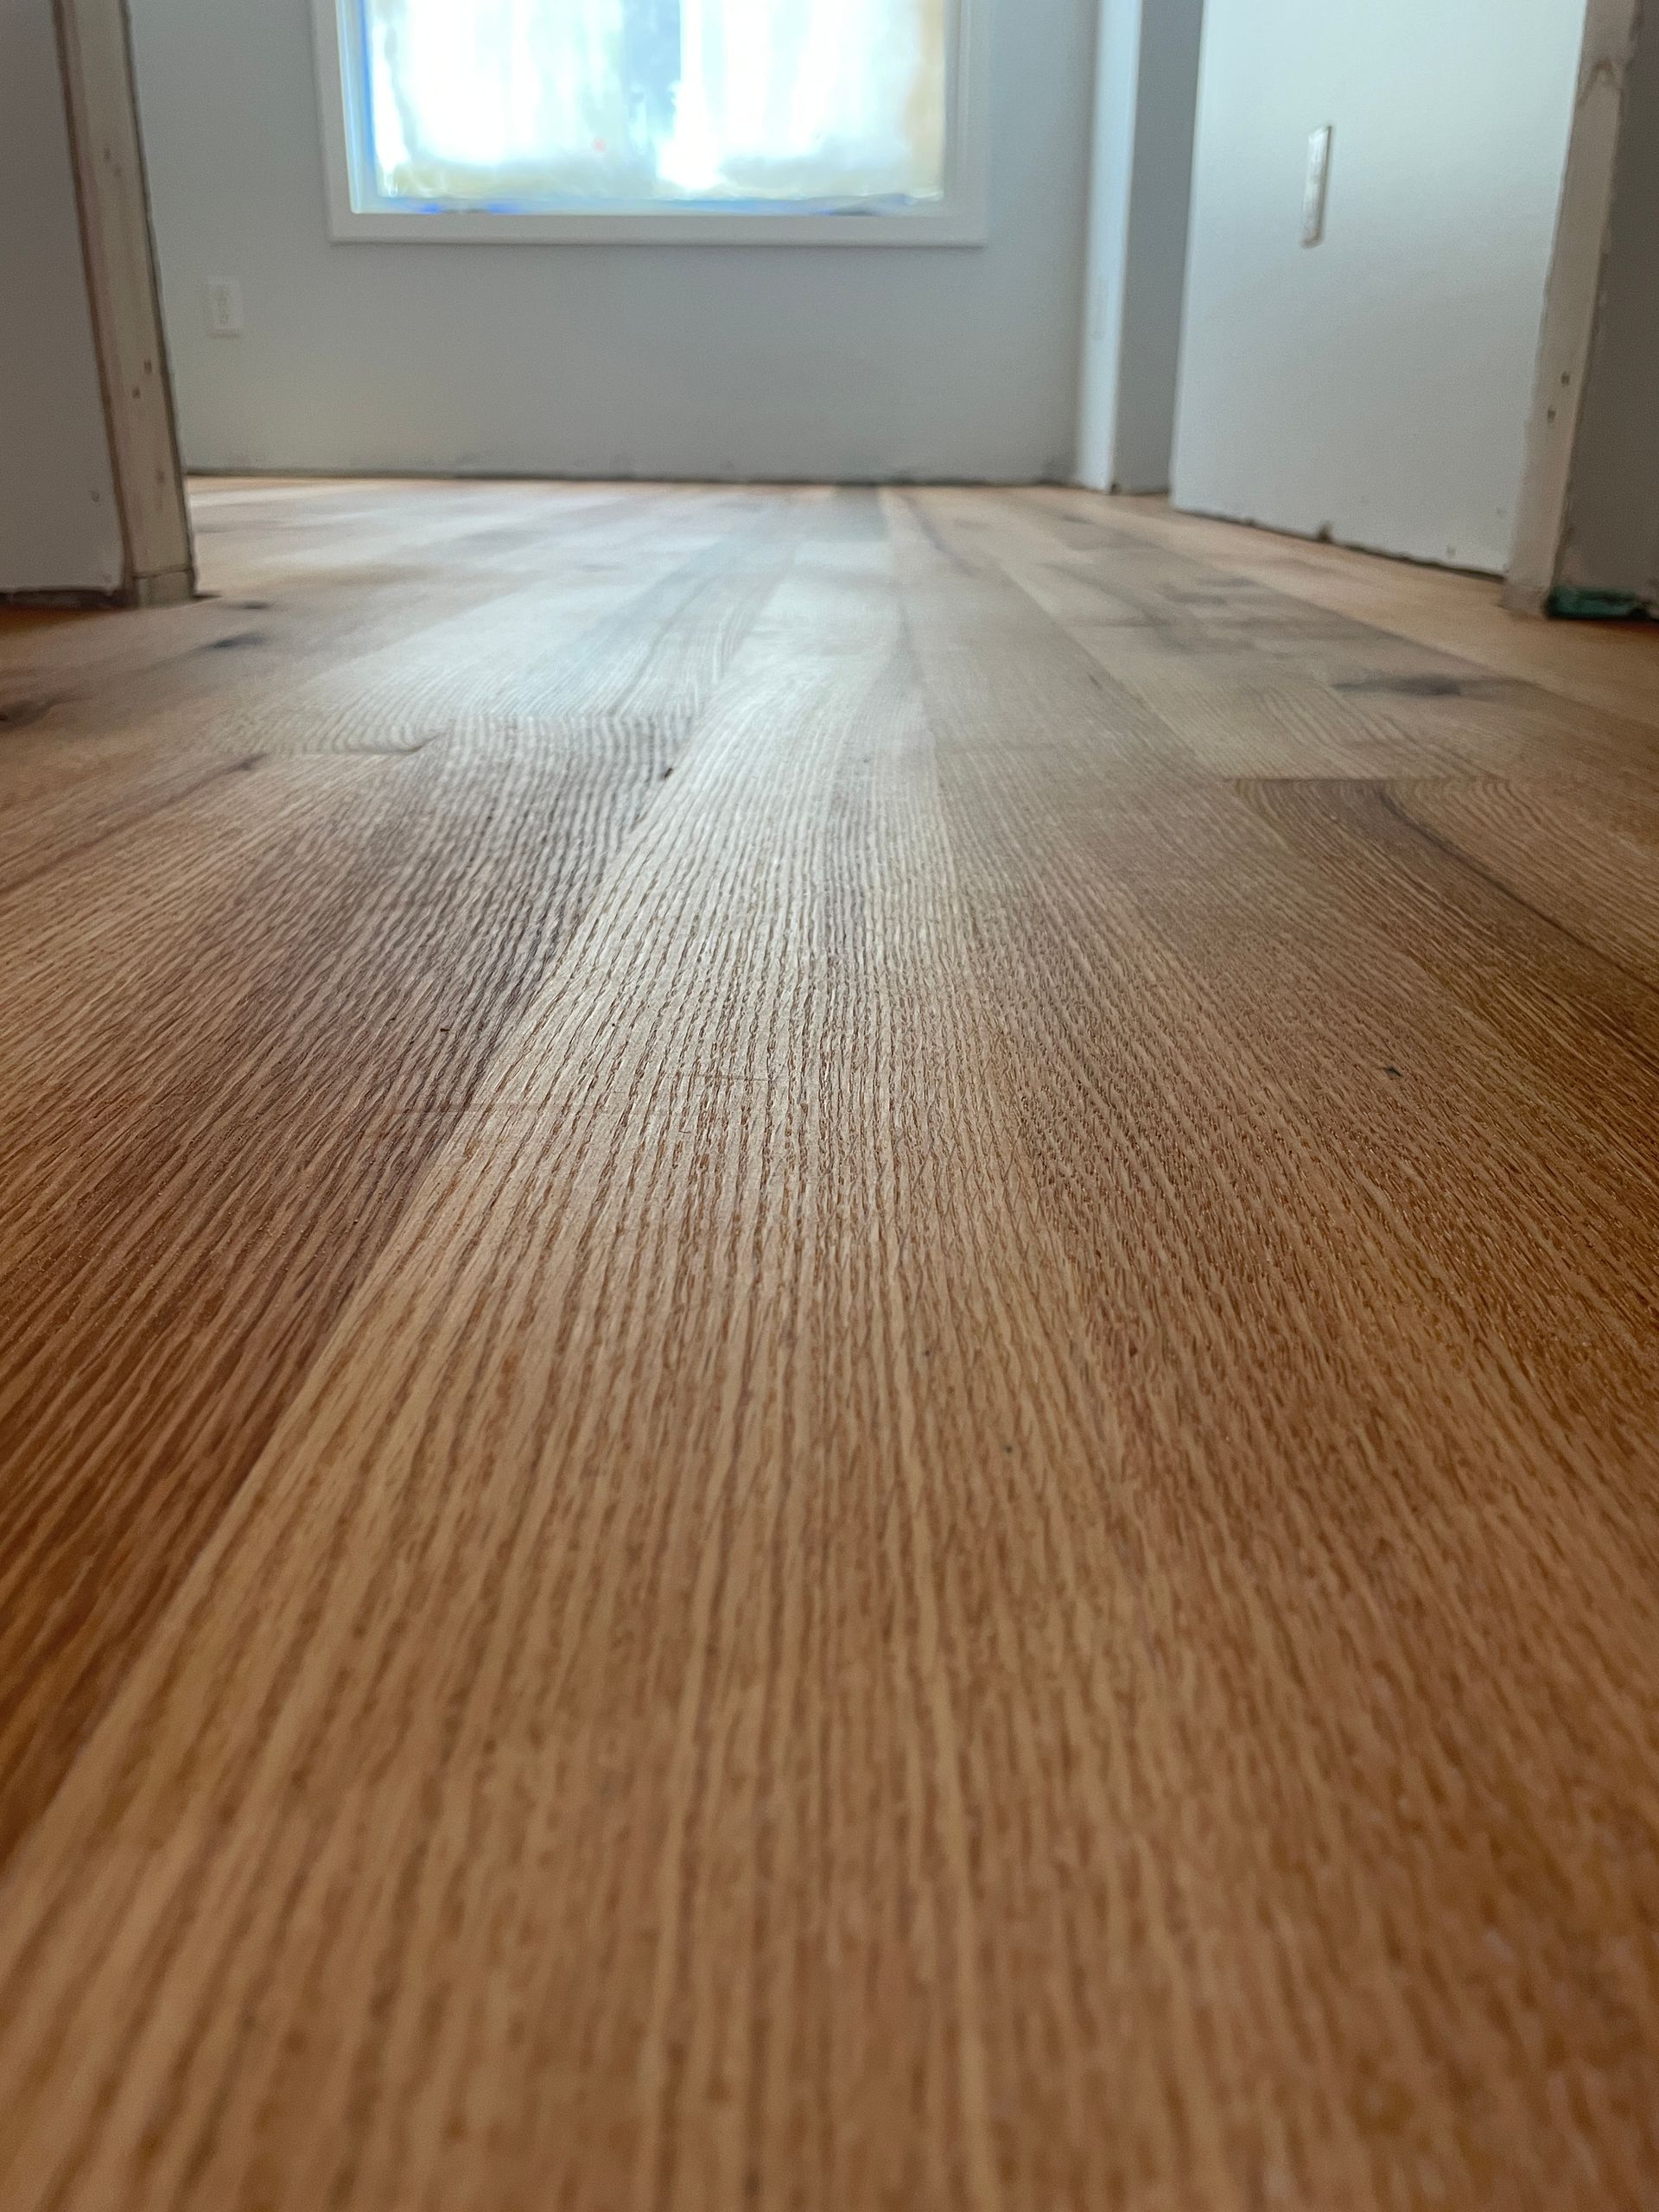
Hardwood floors are not just a practical choice for flooring; they are also an elegant and timeless addition to any home. Over time, however, even the most well-maintained hardwood floors can lose their luster due to everyday wear and tear. Scratches, scuffs, and fading can diminish the beauty of your hardwood floors. Thankfully, there is a solution: the screen and recoat process. In this article, we'll take you through the steps of screening and recoating hardwood floors to bring back their original shine and splendor.
Understanding the Screen and Recoat Process
Before diving into the details, let's clarify what the screen and recoat process entails. A screen and recoat, also known as a maintenance coat or buff and recoat, is a relatively simple and cost-effective way to revitalize hardwood floors without the need for a full refinishing job. This process involves lightly abrading the existing finish on your hardwood floors with a special screen or mesh pad and then applying a new coat of finish. It is ideal for floors that have minor surface imperfections, such as scratches, scuffs, and dullness, but are otherwise in good condition.
Step 1: Inspection and Preparation
The first step in the screen and recoat process is a thorough inspection of your hardwood floors. Grades Hardwoods will examine the entire surface to identify any areas with significant damage or deep scratches. If you find any, these areas may require additional attention, possibly even a full refinishing, as a screen and recoat won't be sufficient to address deep damage.
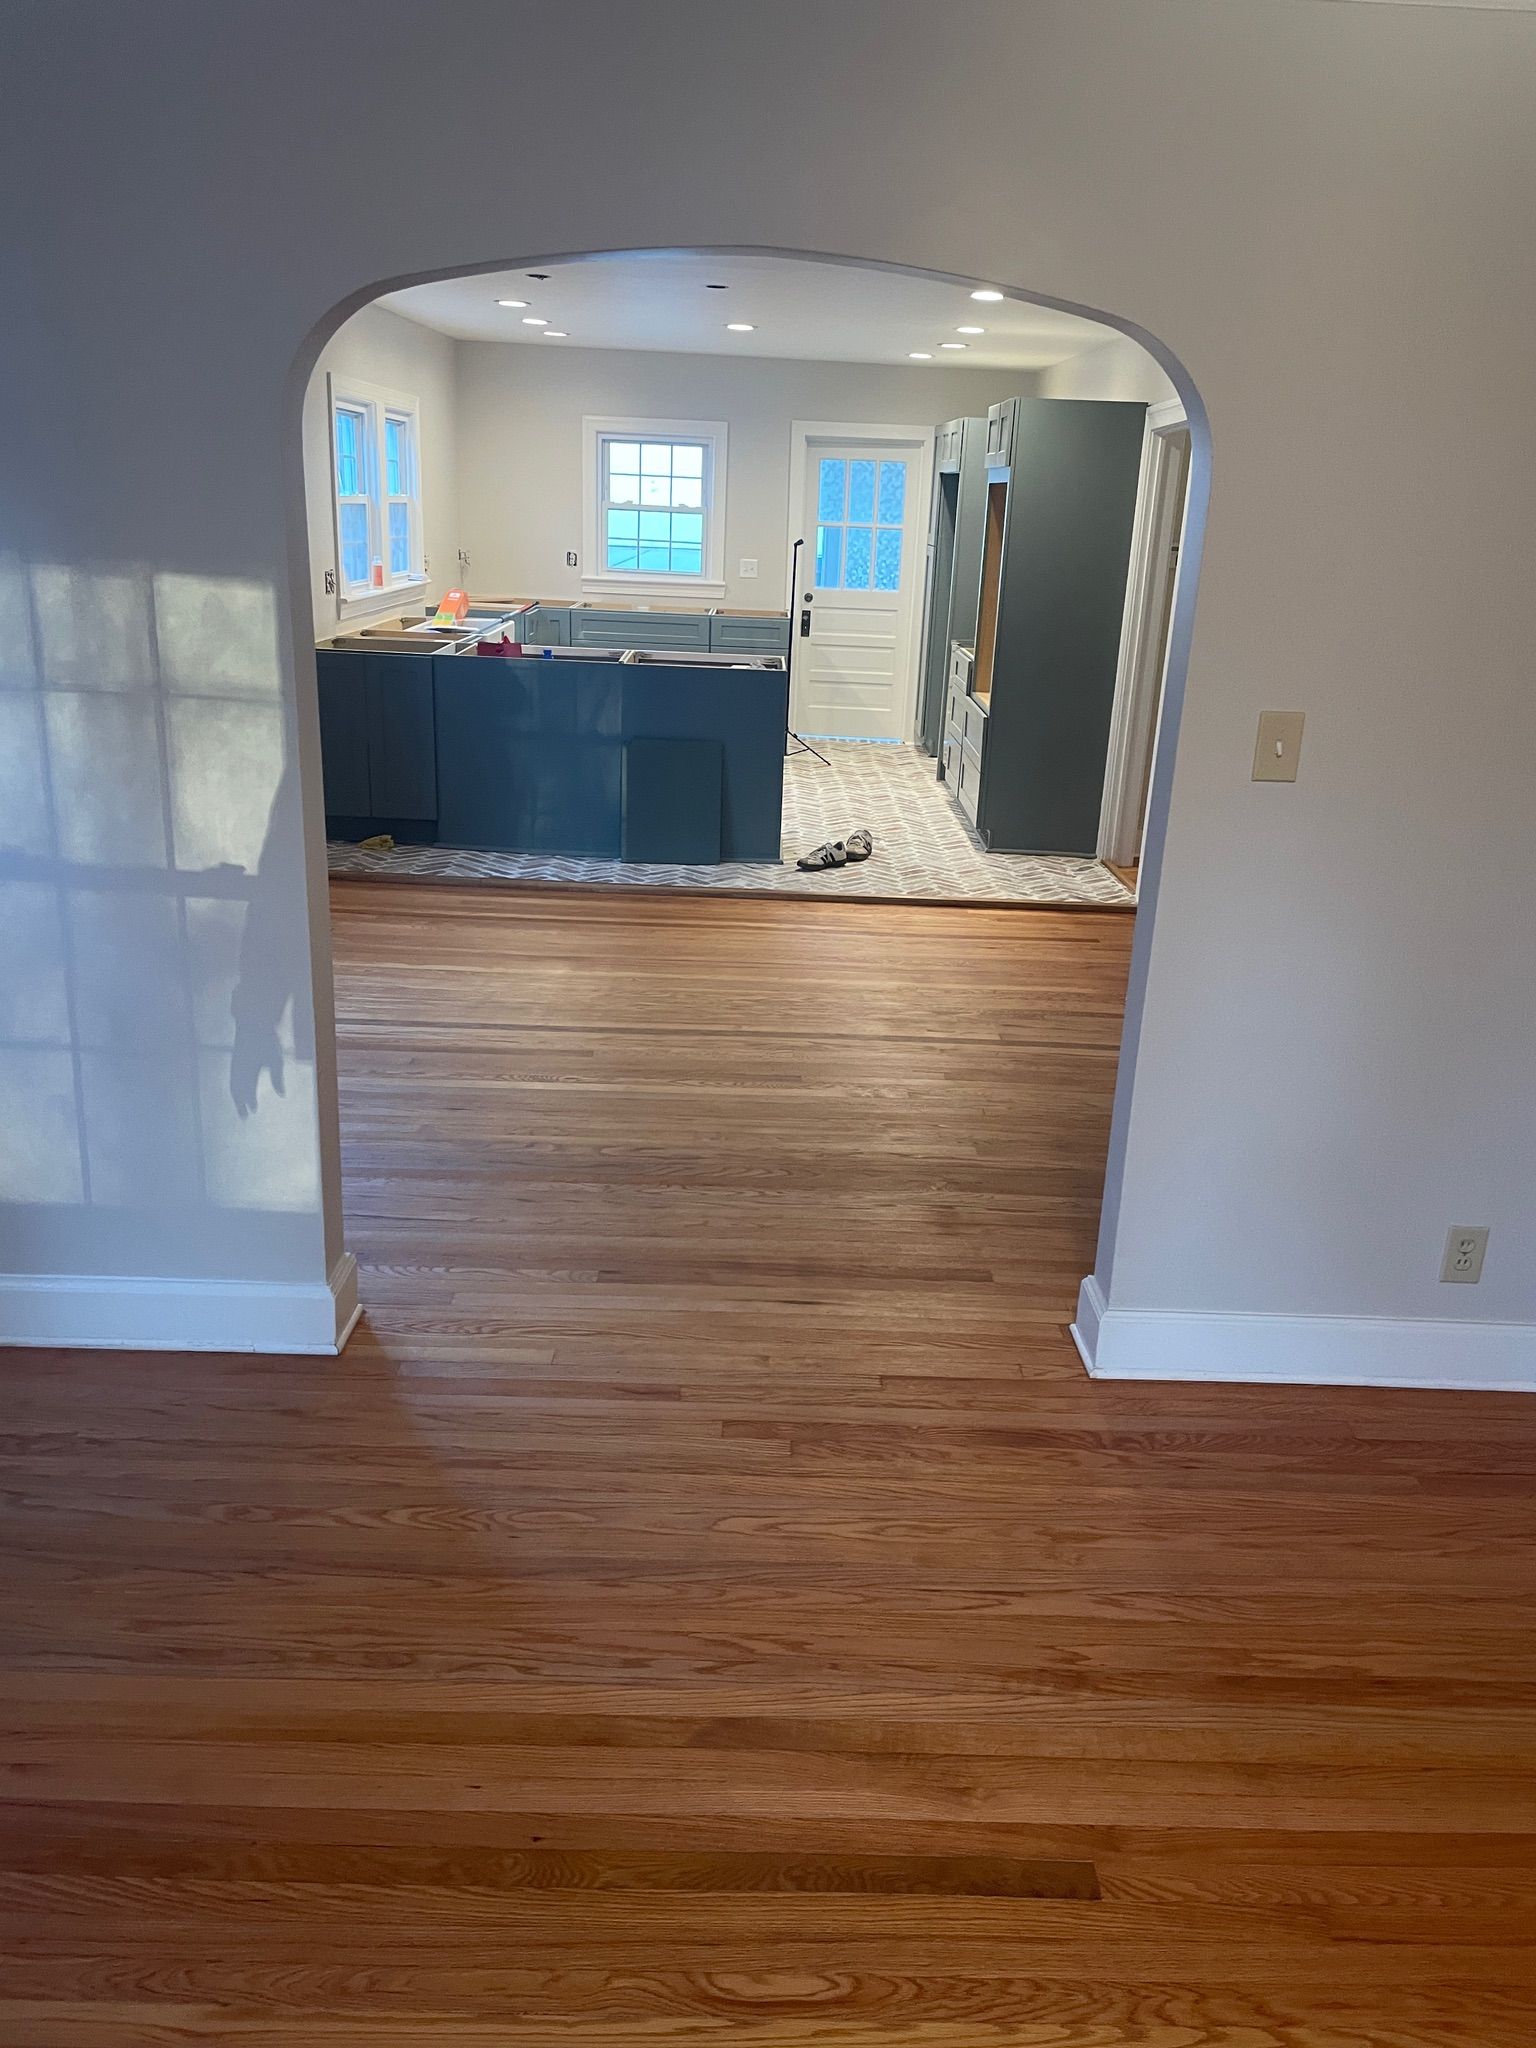
Next, clear the room of all furniture, rugs, and other obstacles. This will provide a clear workspace for the screen and recoat process and prevent any items from getting in the way.
Step 2: Cleaning and Dust Removal
Before beginning the screen and recoat process, it's essential to clean the hardwood floors thoroughly. A high-quality hardwood floor cleaner is used to remove dirt, dust, and any residues that may be present. Once the floor is clean, it's time to address dust removal. Dust can mar the finish, so it's crucial to eliminate as much of it as possible. One effective way to do this is by vacuuming the entire floor, using a soft brush attachment to avoid scratching the surface. After vacuuming, we use a microfiber mop or tack cloth to pick up any remaining dust.
Step 3: Screening the Floor
The heart of the screen and recoat process lies in the screening of the floor. This step involves lightly abrading the existing finish to create a surface that will bond well with the new coat of finish. To do this, a floor buffer or a orbital sander equipped with a fine-grit mesh screen is used. Common screen grits used for this purpose include 120 or 150.
The machine is moved in a slow and even back-and-forth motion, overlapping each pass slightly to ensure even abrasion. The goal is to scuff the existing finish without removing it entirely.
Step 4: Cleaning and Tackling Problem Areas
After screening the entire floor, it is cleaned again to remove the dust generated by the process. A vacuum and a microfiber mop or tack cloth is used for this purpose. It's important that the floor is entirely dust-free before proceeding.
If any problem areas are identified during the initial inspection, now is the time to address them. Deep scratches or stains that were not resolved by the screening process may require additional attention. In such cases, sanding may be needed in these areas.
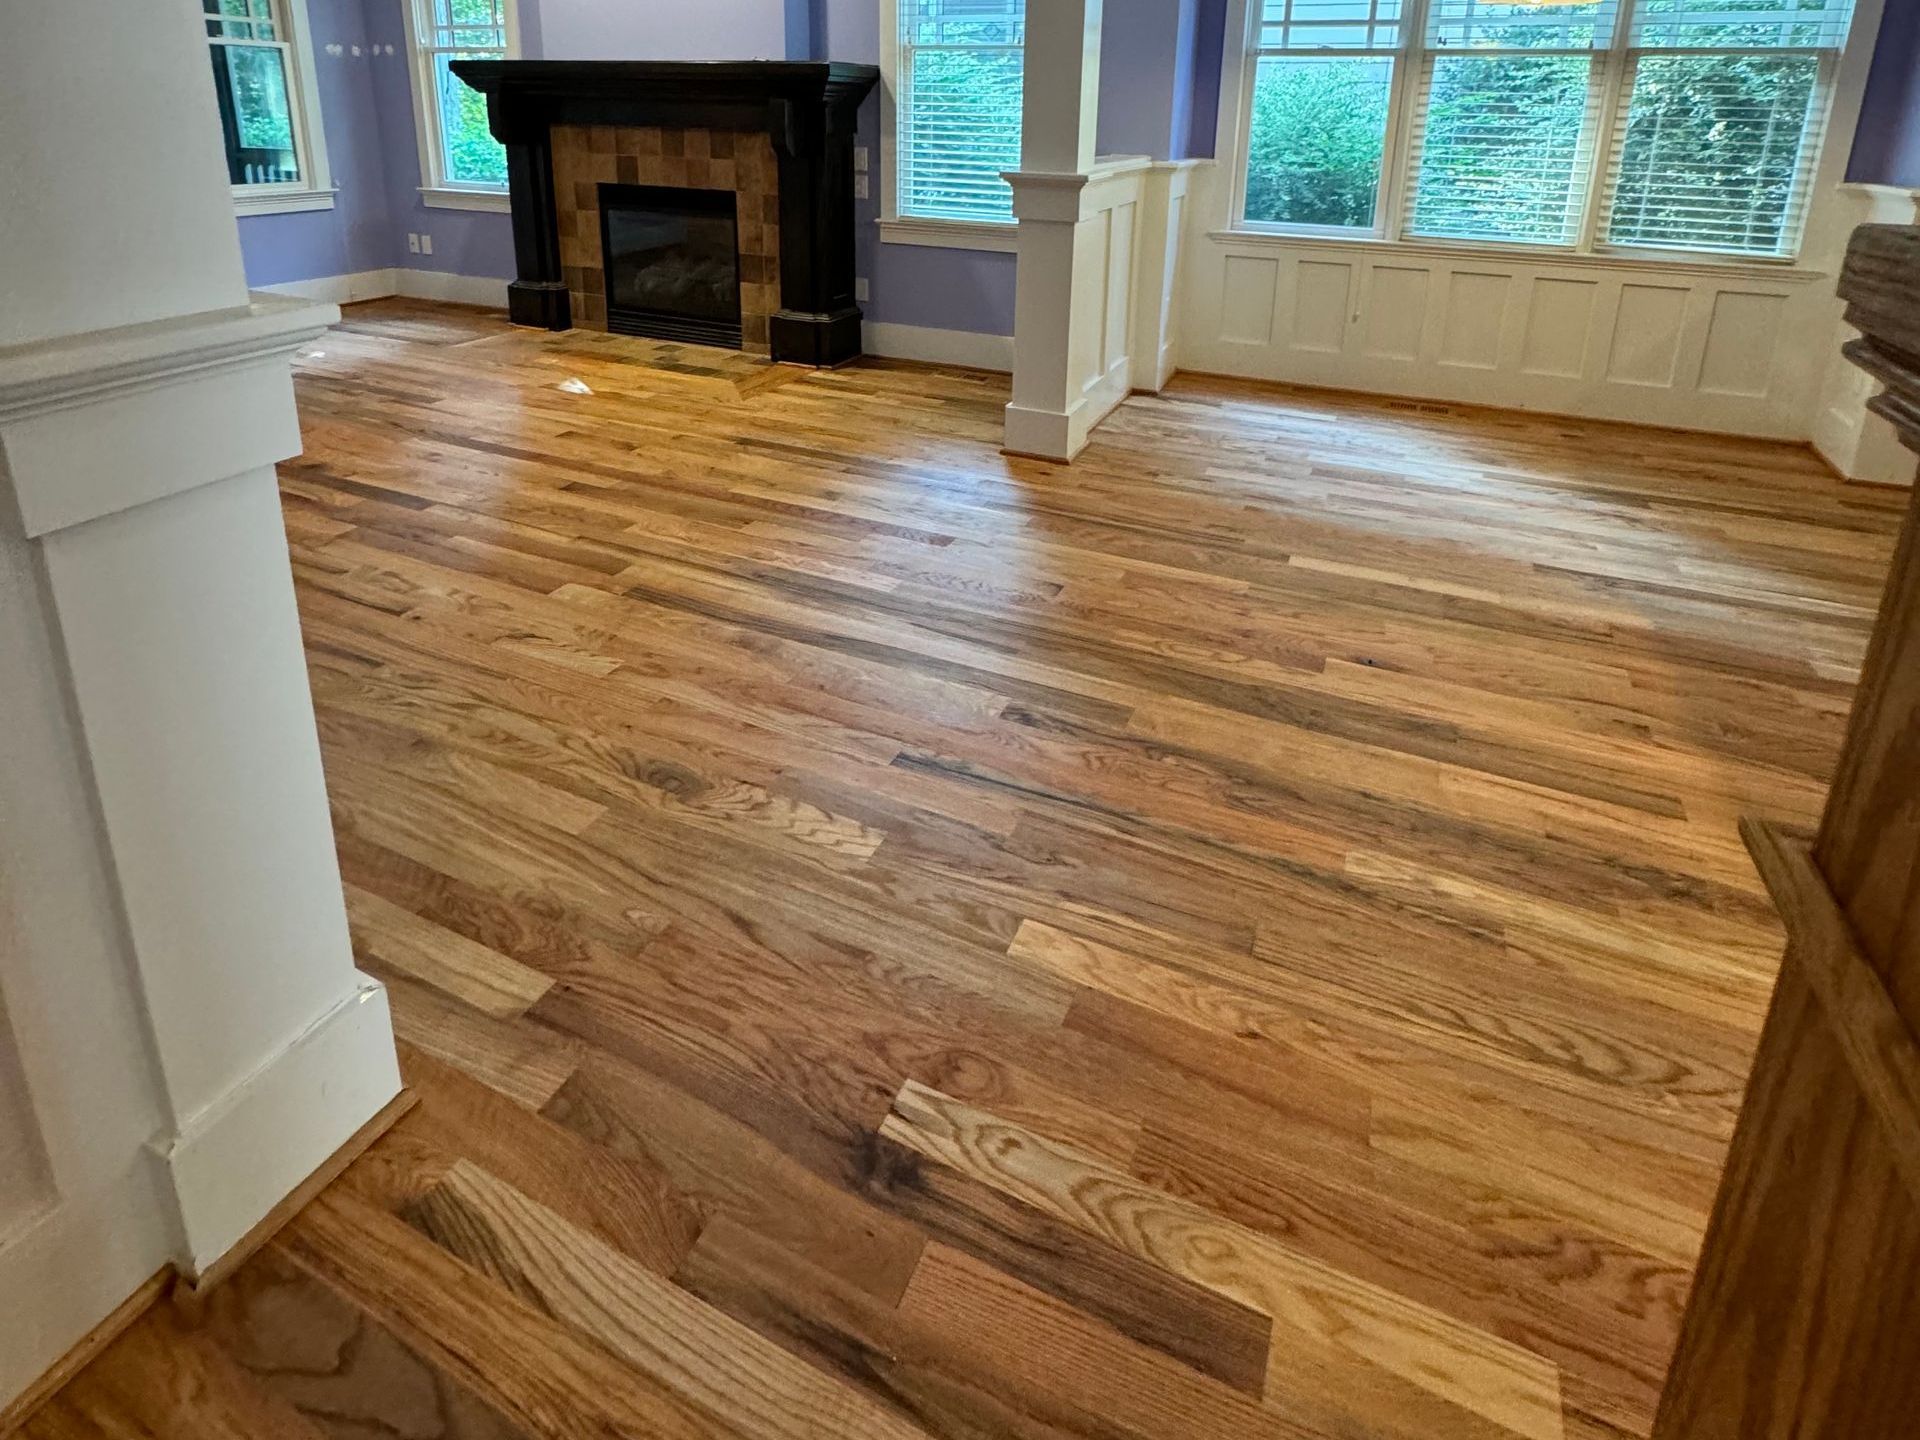
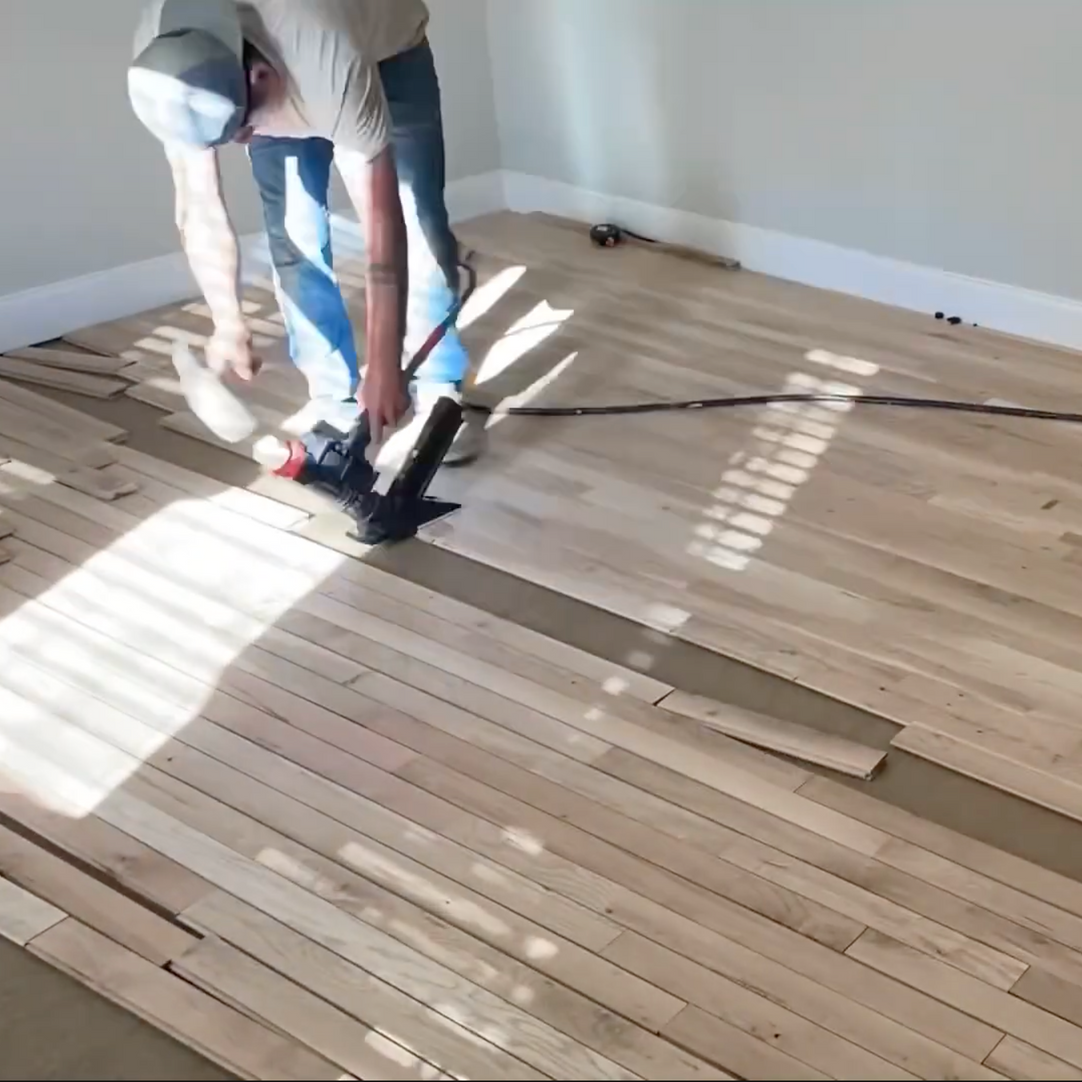
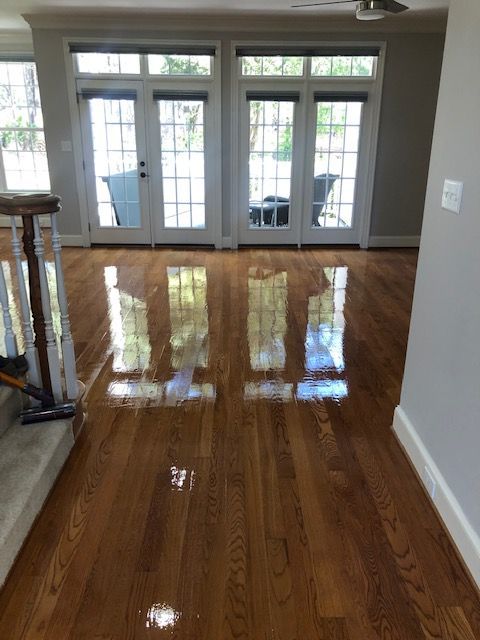
Step 5: Applying the New Finish
With the floor properly cleaned and any problem areas are addressed, it's time to apply the new finish. We use a high-quality hardwood floor finish that matches the sheen level of your existing finish. Common sheen options include satin, semi-gloss, and high-gloss.
The finish is poured into a clean, shallow container and a quality applicator is used, such as a lambswool or microfiber applicator pad, to apply the finish evenly to the floor. We start in a corner and work our way out of the room, making sure to feather the edges for a seamless finish.
Step 6: Drying and Curing
After applying the finish, the floor is allowed to dry and cure thoroughly. This typically takes at least 24 hours. During this time, we keep the room well-ventilated and the floor should be avoided to prevent any disturbances in the finish, like footprints.
Step 7: Replacing Furniture and Rugs
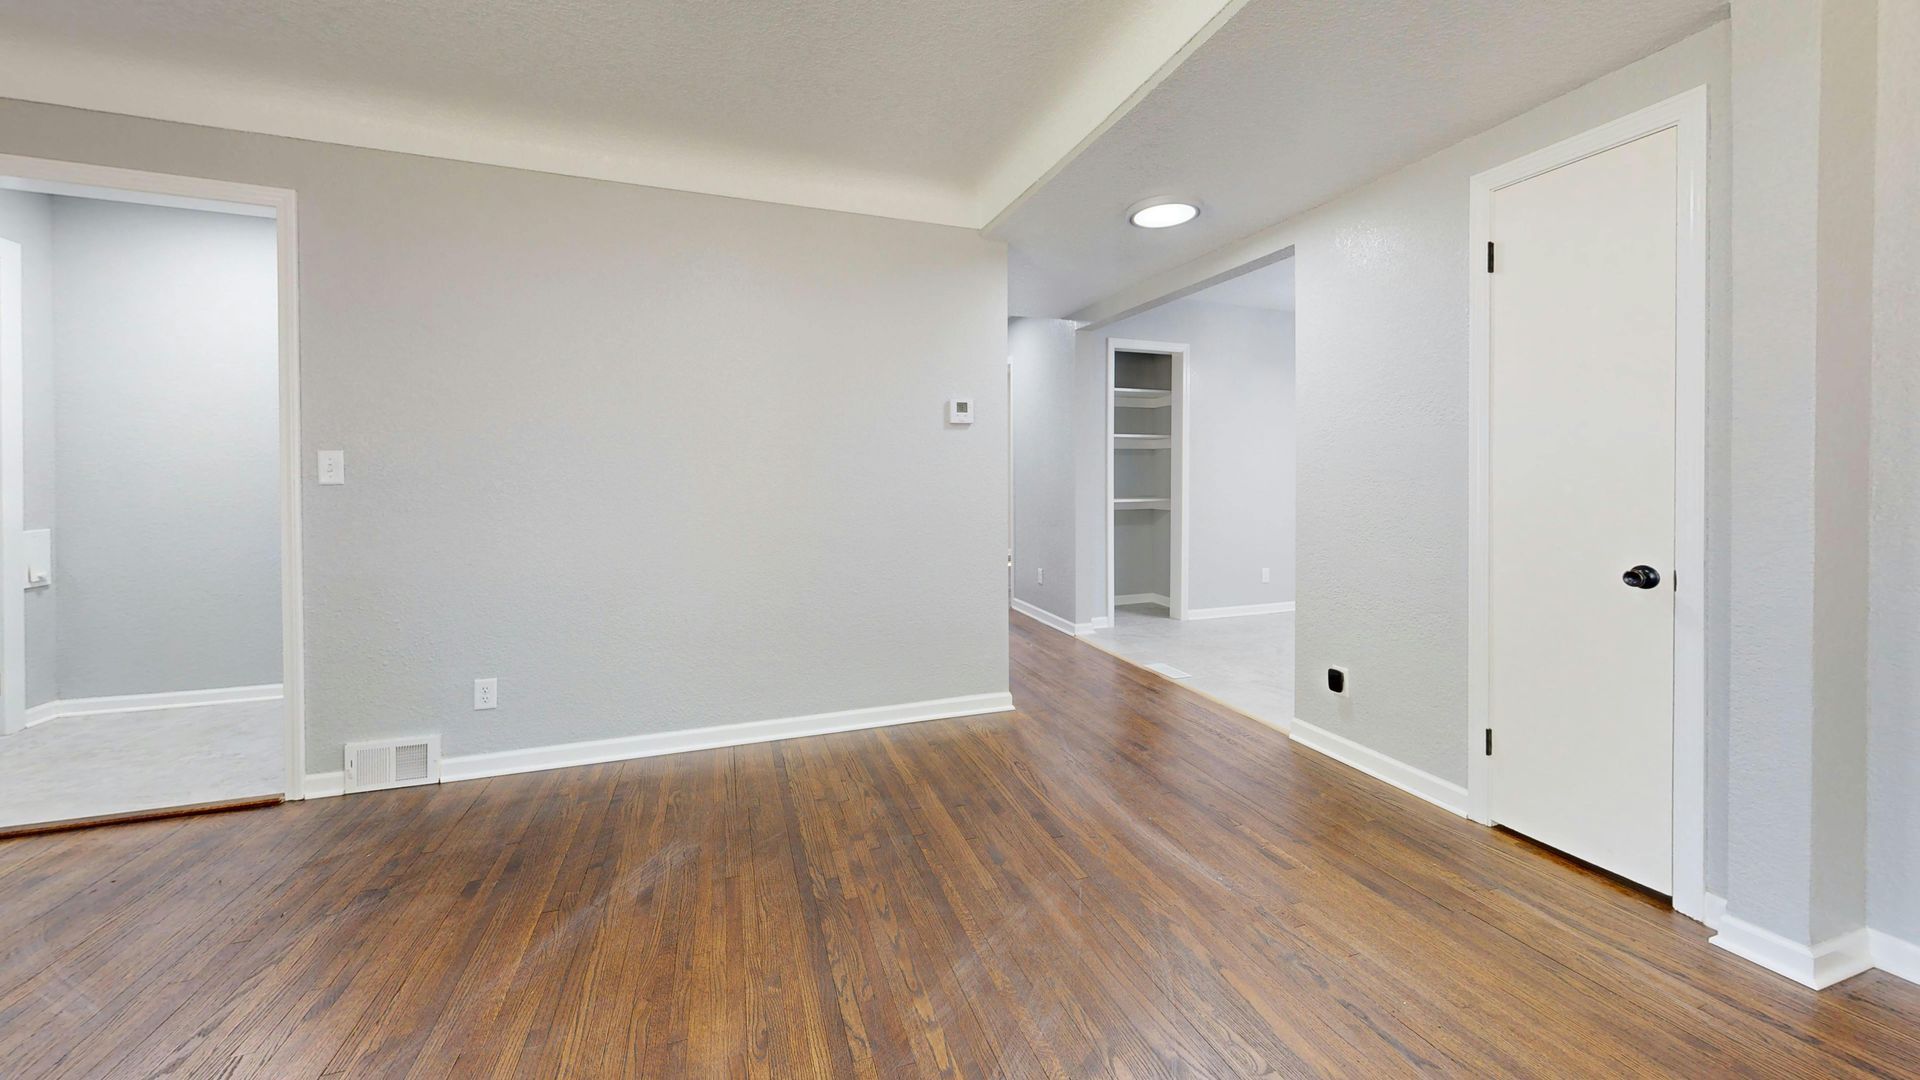
Once the finish is fully cured, you can start moving furniture and rugs back into the room. Be cautious when placing heavy items, as the finish may take a few more days to harden completely. It's a good practice to use furniture pads or felt protectors under furniture legs to prevent any scratches or indentations.
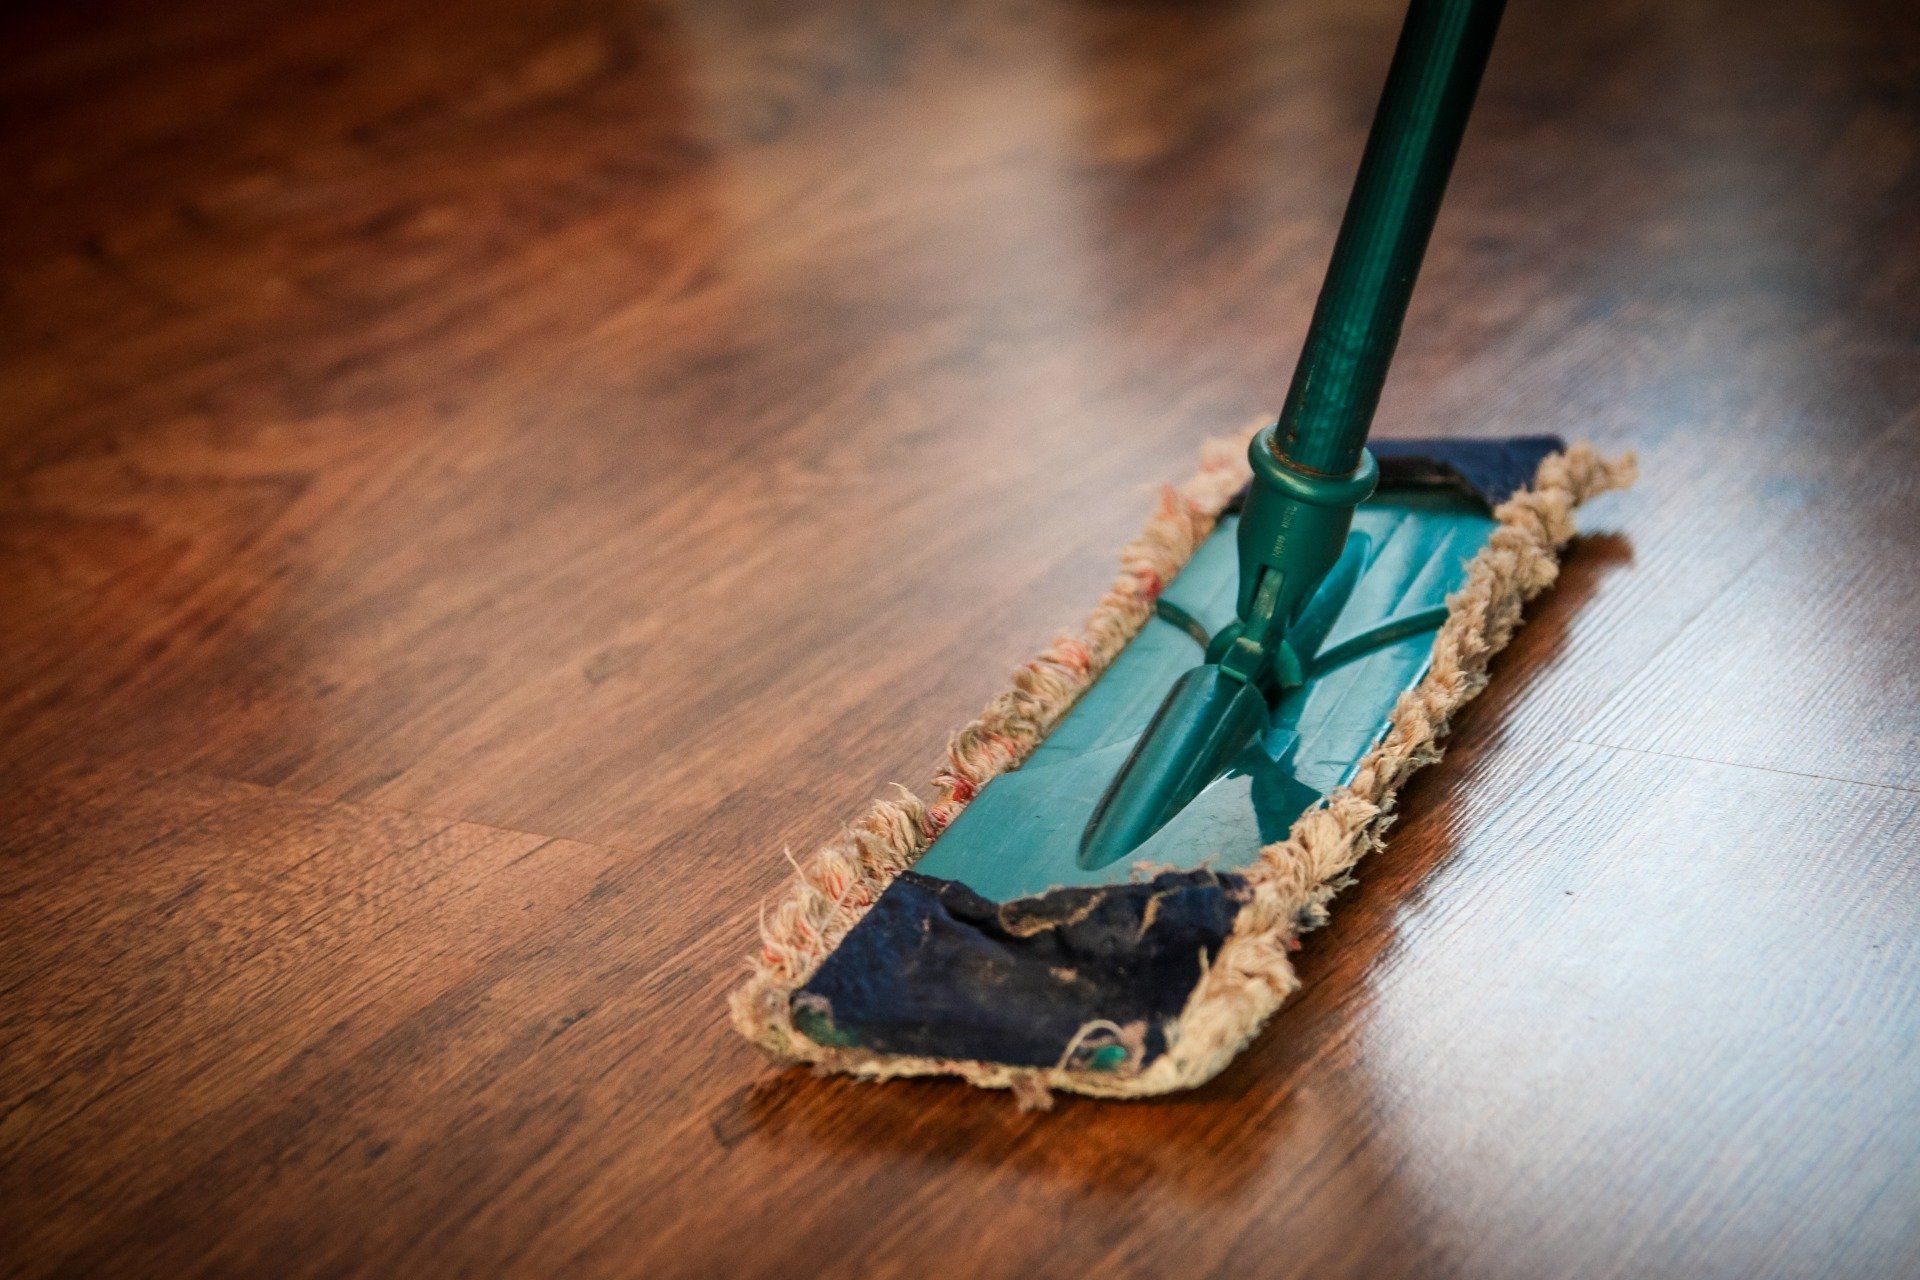
Step 8: Regular Maintenance
To prolong the beauty and longevity of your hardwood floors, implement a regular maintenance routine. This includes sweeping or vacuuming regularly to remove dirt and dust, using area rugs in high-traffic areas, and promptly wiping up spills to prevent damage to the finish.
In conclusion, a screen and recoat is an excellent way to rejuvenate your hardwood floors, removing minor imperfections and restoring their natural beauty. A screen and recoat, can bring back the shine and elegance of your hardwood floors, making them a source of pride and admiration in your home. Remember that while a screen and recoat can work wonders for minor surface damage, more severe issues may require a full refinishing. With proper care and maintenance, your hardwood floors will continue to enhance your living space for years to come. Give Grades Hardwoods a call today for a free in home consultation and quote!